Create a Basic Shortcut using App Intents

This post is brought to you by Clerk. Add secure, native iOS authentication in minutes with Clerk’s pre-built SwiftUI components.
let concatenatedThoughts = """
Welcome to Snips! Here, you'll find a short, fully code complete sample with two parts. The first is the entire code sample which you can copy and paste right into Xcode. The second is a step by step explanation. Enjoy!
"""
The Scenario
Use the App Intents framework to make a basic shortcut that will display whatever phrase you provide it and have the shortcut available in the Siri Shortcuts app, Spotlight and Siri.
import AppIntents

// 1
struct IntentProvider: AppShortcutsProvider {
    static var appShortcuts: [AppShortcut] {
        return [AppShortcut(intent: SayPhraseIntent(), phrases: [
            "Repeat a phrase",
            "Say a phrase",
            "Repeat something back"
        ])]
    }
}

// 2
struct SayPhraseIntent: AppIntent {
    // 3
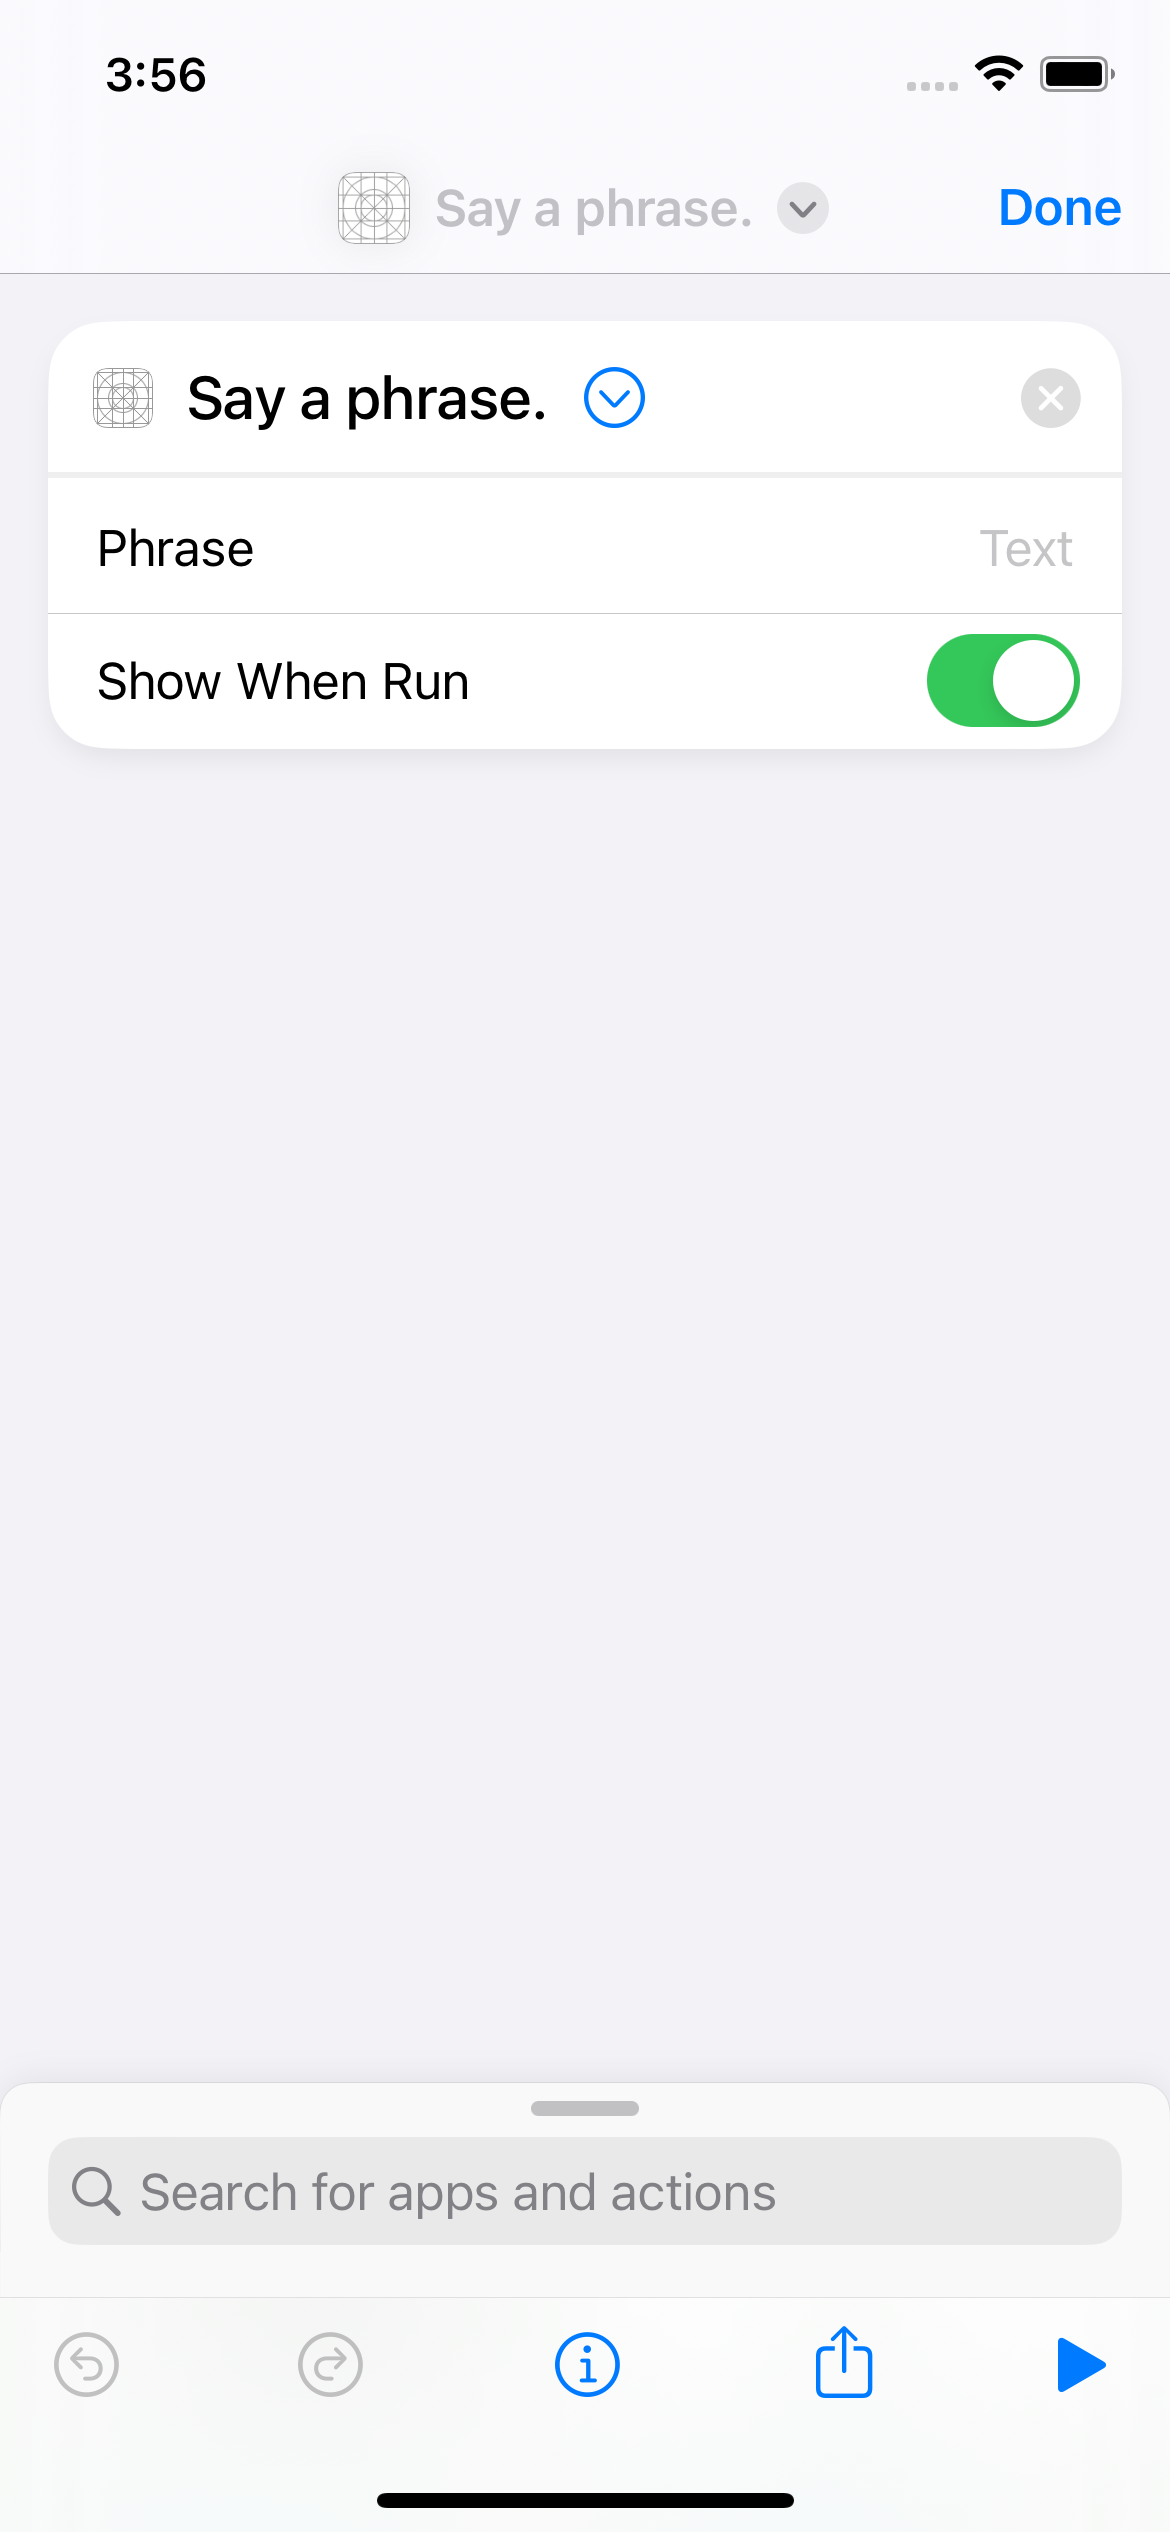
    static var title: LocalizedStringResource = "Say a phrase."
    static var description = IntentDescription("Just says whatever phrase you type in.")

    // 4
    @Parameter(title: "Phrase")
    var phrase: String?

    // 5
    func perform() async throws -> some ProvidesDialog {
        guard let providedPhrase = phrase else {
            throw $phrase.needsValueError("What phrase do you want to say?")
        }

        return .result(dialog: IntentDialog(stringLiteral: providedPhrase))
    }
}
With that, you can use this shortcut in the Shortcuts app, in Siri or Spotlight search:

The Breakdown
Step 1
Create a struct type that adopts the AppShortcutsProvider protocol. Within it, create a property called appShortcuts that returns any of your App Intents shortcuts within it. Ours is defined in the steps below.
This is what provides your shortcuts to the system.
Step 2
Create a struct that adopts AppIntent - each struct that adopts this will represent a shortcut. You can include up to 10.
Step 3
At a minimum, you need to provide a title, which is what the shortcut will show around the system for the shortcut. Here, I’ve also adopted description which is also a part of the AppIntent protocol. This helps people know a little bit more about what the shortcut does.
Step 4
Any property using the @Parameter(title:) property wrapper can be used with your shortcut. Here, this is the phrase that we’ll repeat in the shortcut.
Step 5
The heart of the shortcut, perform executes your logic to do the actual shortcut. We return a very basic result here, an opaque type of ProvidesDialog, but there are several different types you can return to the system.
We also check that our parameter, phrase, has been set. If it hasn’t, we throw an exception to let the system know we still need one. Then, we display it as the shortcut’s result.
Until next time ✌️